
Recently I also won my first item on E-bay. It's a 3.3 pound spool of single ply merino. I forgot to ask if it was superwash or not, but either way, it cost $20 plus shipping and I can't complain. I keep meaning to try overshot, and this might be perfect for it, although I don't dare use it for the warp. If anyone is interested, the seller has more available. It's been sitting on my coffee table all week so that I can admire it...
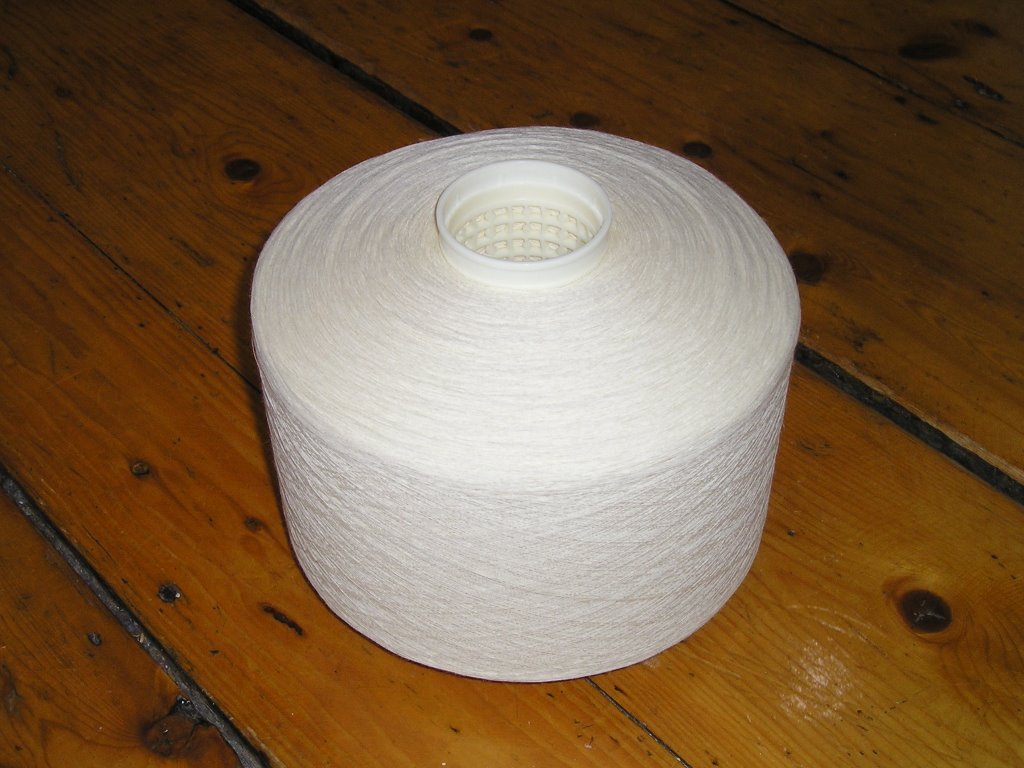
Just for size comparison...

Here is my latest surface design project.

This did not turn out quite as I intended (but when does anything?). I have been printing on silk habotai with Remazol and Procion with chemical resist added to it. When I design, I'm primarily interested in patterns in nature or textures. This piece was created using three layers. The first layer, the 'ground', is all Remazol dyes. The second layer is a sand texture printed haphazardly using Procion. Last was my design based on a close-up of cantaloupe skin, also done in Procion. When I printed this, the final layer was dark brown - but that's not what I got! Where you'd expect to see the chemical resist halo, instead there are dark outlines. In all honesty, I find this subtle colouring more pleasing, but the final layer of Procion had a very strange reaction, not bonding with the surface of the silk, and it took me hours to scrub it all off. I need to do some tests to figure out why that happened. Possible culprits are A) not using Manutex F (I always use the cheaper SH but this has never happened.) B) the studio temperature was FREEZING! The more I read about Procion, the more I think this might have had something to do with it. C)Re-stretching the silk between layers. I'm wondering if I may have stretched it so tightly that the dye couldn't permeate the fabric. D) The black dye I used to turn my golden yellow to dark brown was mixed up two weeks ago. It may have lots its ability to react with the fabric.
If anyone out there has any expertise in this area, I'd love your input. Actually, more like eternally grateful!

Of course, I'm used to the fact that often things just don't work out quite as planned. (Note fuzzy blurry lines, and faded colouring in this piece below...)

Lately I've been reflecting a lot on what textile arts means to me and how I define them. Personally, I feel as though textiles are the broadest medium of all. Fabric is like a canvas, but because I can play with it at a structural level, I am more connected to it than I would be a canvas. I feel like the warp and weft are my lump of clay, the beginnings of a sculpture or the perfectly thrown pot. I feel as though nontraditional materials are meant to be explored and integrated.
A friend of mine is a mixed media abstract painter. We are always fascinated by one another's work and that makes perfect sense. At this point, I would describe myself as a student of mixed media textiles, interested primarily in nonrepresentational work.
Of course these things all change when I least expect them too....
Summary of the Rust Dyeing Workshop
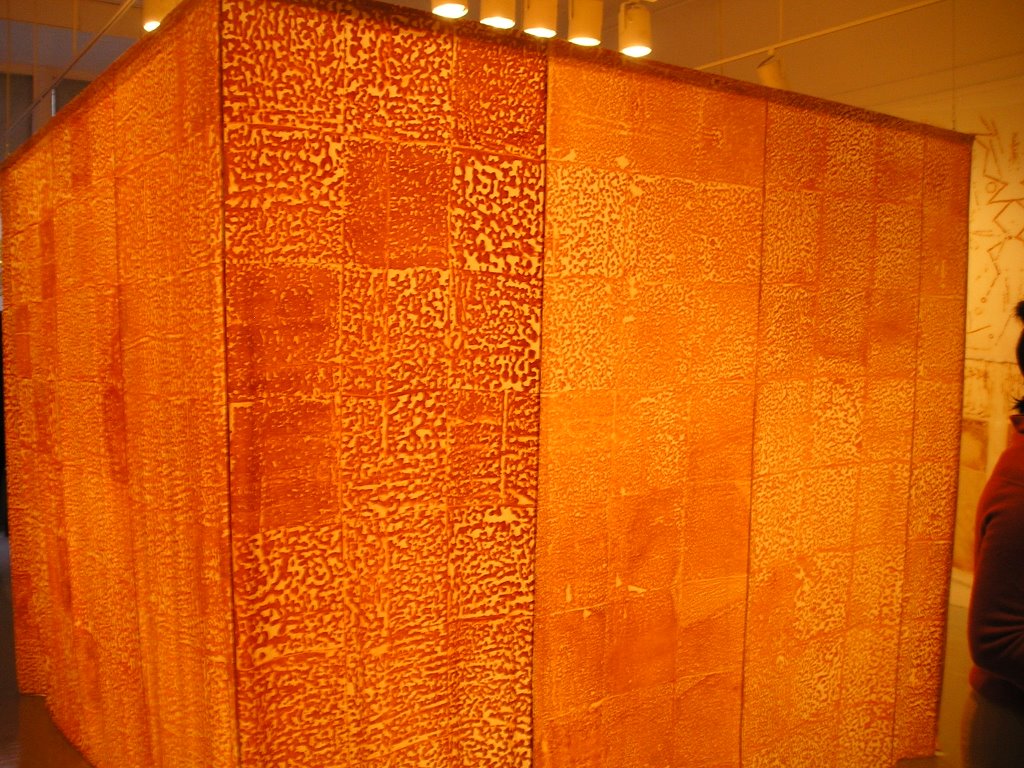
I love this photo of the Nuno installation. Our work (students and faculty taking part in the exhibition) is up on the walls, but really it all paled in comparison to the centrepiece.
In terms of process, we used both old and new metal. We used the steel plates pictured in my previous post, as well as found materials. We scrubbed the oil from the surface of the new steel thoroughly with neutral soap and steel wool. Then we rinsed them and layered them in a tub, covered in salt with marbles between them so that air could circulate. After a week we took them out and scrubbed the forming rust off...
For old rusted pieces, we simply scrubbed them vigorously to remove old scales, sprayed them with salt water and let them rust anew.
Because the workshop instructor was flying in from Japan the night before the workshop began, and instructions in Japanese apparently tend to assume you know more than you might, we were in a panic that our plates weren't rusty enough. Someone contacted someone who contacted someone else, and the next thing I knew we had a retired chemist in our studio. He suggested we soak everything (including our old metal) in a bath of salt water with vinegar added to it. Then we air dried it, periodically spraying it down with salt water. (Acetic acid can be used too, but I think it's unnecessary if you just take more time. It also smells awful and isn't all that safe.) By the next morning everything was covered in new rust.
When it came to the actual dyeing, we made sandwiches with our fabric and rust in the centre. First we lay down masonite boards. Next, a blanket or foamie - something with give to it. For 3D pieces, foamies are good because they allow the fabric to fold around the rusted object. Then we used, in this order, a sheet of plastic, pre-wetted fabric, our metal, another layer of fabric. At this point, we spritzed our fabric with plain water or salt water to dampen it further and 'arrange' the way the fabric was clinging to the metal underneath. Next, we added another layer of plastic, and here we sealed the edges of two layers of plastic together in order to make the 'package' air tight. Then came another blanket or foamie. Finally, to top it off, we added an electric blanket and another masonite board, which we weighed down with everything not attacked to the floor in the studio. We jacked the electric blankets up to high for a few hours, then turned them down to low. The room we used for rust dyeing was kept relatively warm.
Twenty-four hours later, we peeked, and presto! Rust-dyed fabric.
Most importantly, I learned that the new rust is what bonds with the fabric. When we opened our fabric up on the second day, you could see the thousands of tiny rust crystals forming. The pieces that were least successful were the oldest, rustiest, scaliest pieces - those which were also the hardest to scrub down. As I understand it, it's important to scrub off the old rust as much as possible, as new rust will begin reforming immediately in the same place, and that is what bonds with the fabric. (Note: we used rayon, which is supposedly the most successful of all cellulosics, although good results can be had with silk too.) The heat speeds up the process.
Rust dyeing also doesn't change the hand of the fabric. I thought it would. Up close, you expect to be able to feel the texture of metal or rust, but you can't.
To the questions...
What is the projected longevity of these pieces?
I haven't done my own tests, but according to our workshop leader the rust dying is one of the most permanent techniques and completely lightfast. I'm going to try discharging a sample at some point in the next few weeks. I'm also interested to see what happens when the fabric is treated with chemical reactive dyes.
Did you treat them afterward to get back to a normal pH?
We rinsed them and ran them through the washing machine with a smidgen of Synthrapol (a neutral pH soap). So we weren't necessarily treating them, but we did need to make sure the remnants of vinegar and salt water were completed removed from the fabric.
Will that wash out or blur if it gets wet? When initially opened, bits of rust are clinging to the fabric and can potentially stain it if the piece is run under hot water. We used cold water and nothing bled or washed out. It was a very permanent, clear effect.
If anyone has any more questions, feel free to ask and I'll add them to this post.
7 comments:
It's so interesting to read about the rust dyeing and how science and art can crossover sometimes. And the finished work is gorgeous!
Surface design such as your projects is something that totally amazes me, I guess because I wouldn't have a clue how to go about doing it. It makes me appreciate and admire yours all the more (and yes, I can see the cantelope skin!). Knitting socks on the other hand, I can appreciate experientially!
Thanks for the additional info on the rust dyeing and on blogging! It's a steep learning curve so it's nice to get help along the way.
Everytime I look at your work I just ooo and ahh I love it!
Hi Say -
This is your secret pal, just doing a quick check in on for the first of the month..
I am sorry to be using comments on your blog instead of emailing, but I am away from home at the moment and finding it rather frustrating not to be able to use my own computer...
I have collected a couple of things for you while I have been away, and am making you a little something special:)
Cheers,
SP9
I really love the rust centerpiece. The light really brings the textures and shapes out.
It sounds like a very interesting thing to do.
Who knew! Rust dyeing! Now I have something new to try. Your pieces look amazing! And school is so fun, isn't it!
Post a Comment